HOW TO STYLE BUILT-IN SHELVES
Let's tackle a common yet challenging design task: styling built-in cabinets. It's an area our team loves but knows can be quite daunting for many. Whether you're refreshing an existing 'shelfie' or venturing into styling for the first time, this guide is here to inspire and simplify the process.
Image Sources: Paulina Carcach + Chango & Co. + Pinterest
Step 1: Start with a Clean Slate
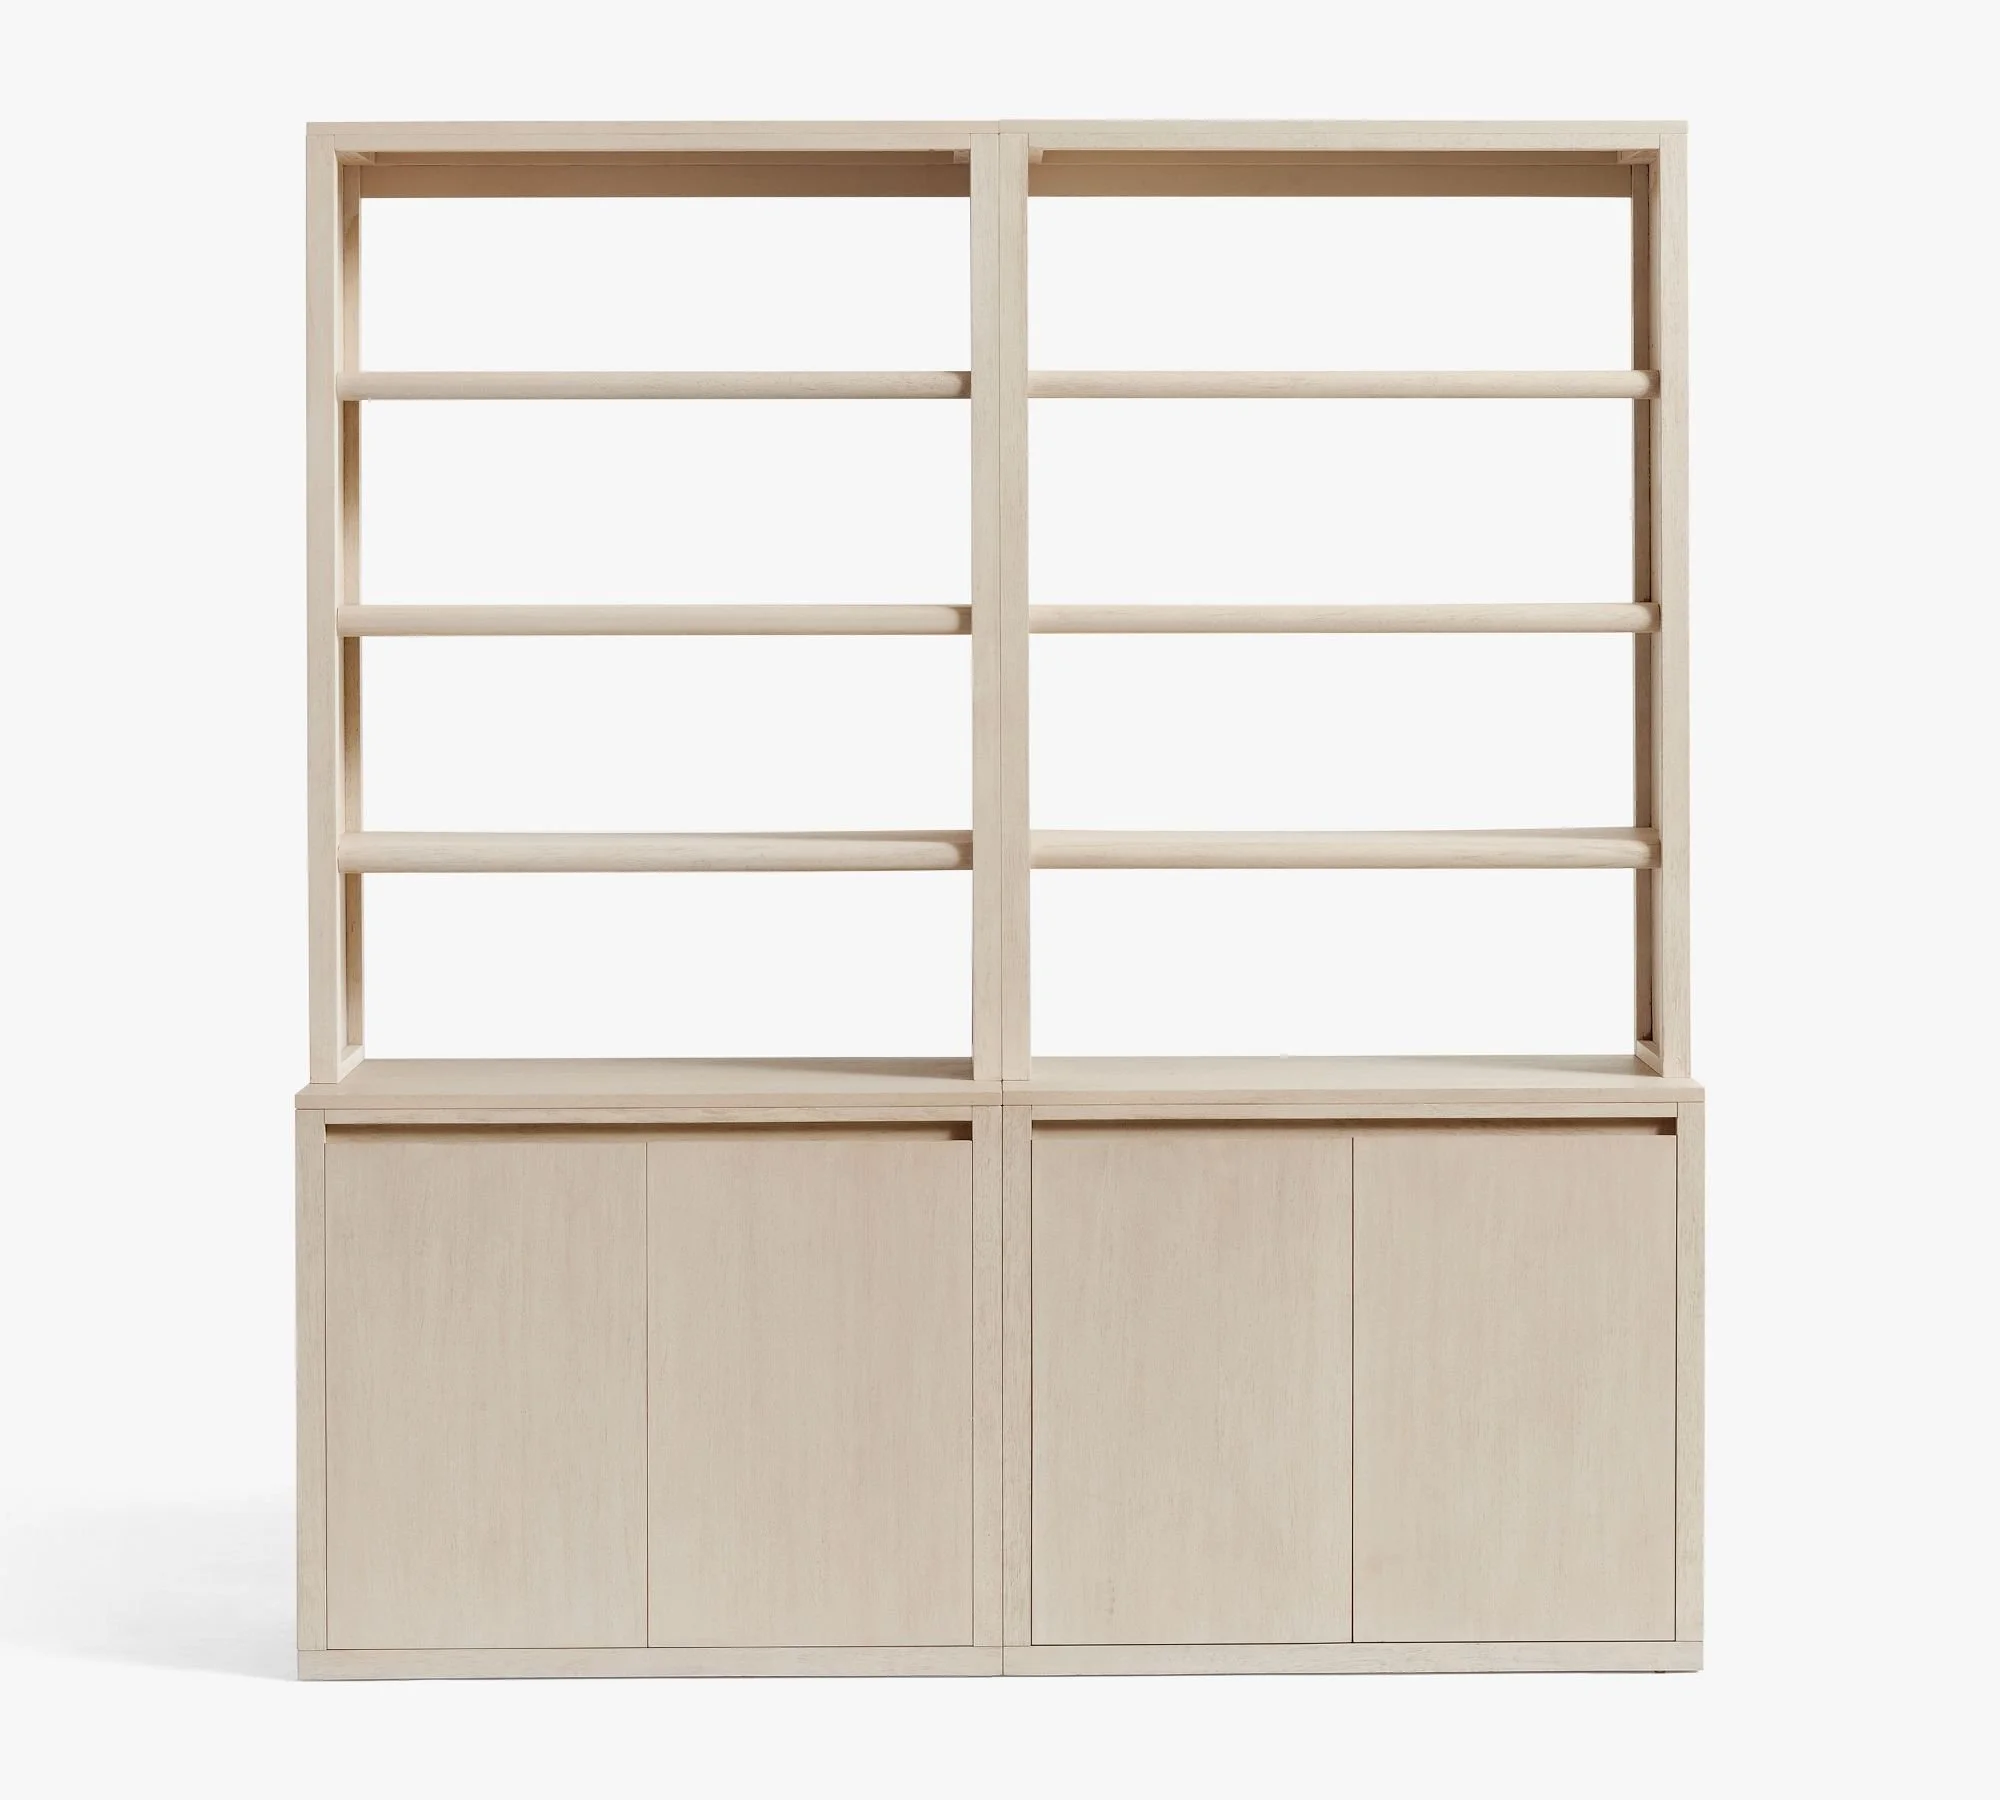
First things first, empty those shelves! Clearing everything out lets you see your space anew and helps in visualizing the potential arrangement. This approach is particularly effective for built-ins, allowing you to evaluate what decor pieces to feature, rearrange, or remove.
Pro tip: Snap a 'before' photo. Documenting your progress is not only satisfying but before-and-after shots are always a hit!
Step 2: ASSES and Categorize Your Decor Items
With your shelves empty, it's time to sort through your decor items. Group them by size - this makes the styling process smoother and helps identify the overarching style. Ask yourself: What do I want to highlight? Is there anything missing or unnecessary?
Step 3: Establish a Foundation with Larger Items
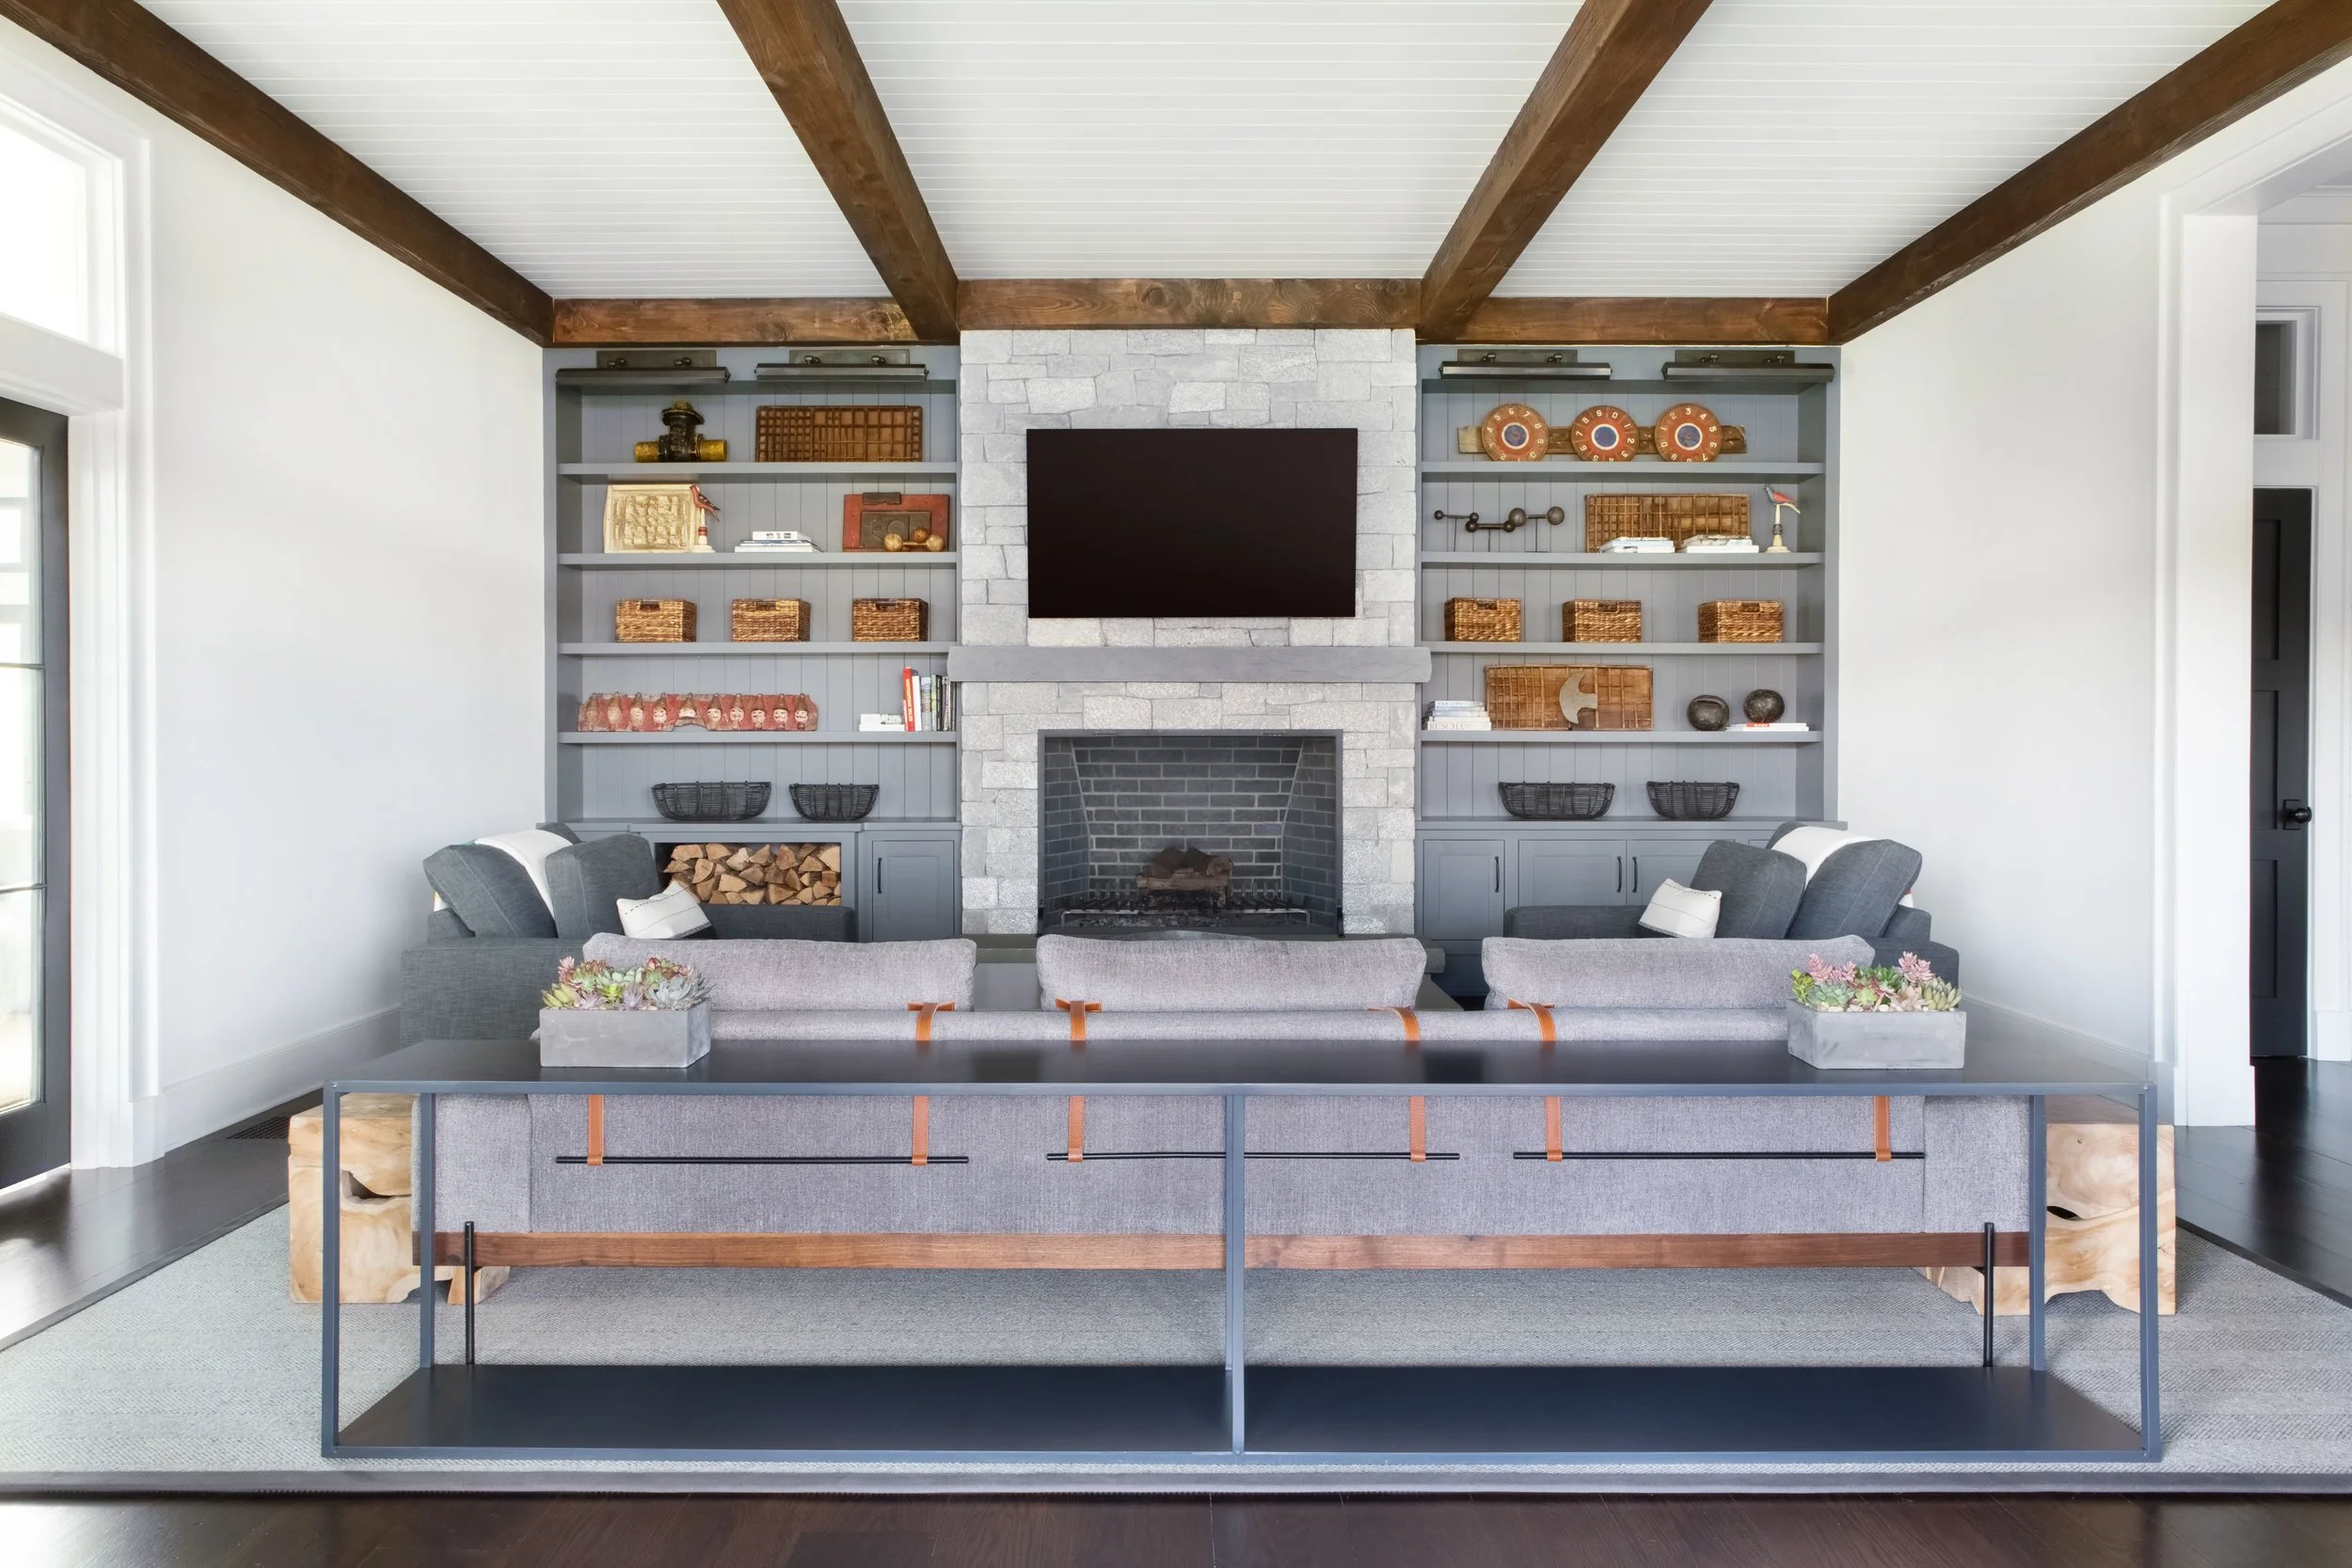
Begin with the big stuff. Vases, art pieces, baskets, or other substantial items are excellent for creating focal points. We recommend staggering these larger pieces for balance, rather than clustering them together.
Pro tip: Tackle similar objects at the same time. For instance, place all your vases first, then move on to baskets, and so on.
Step 4: Fine-tune with Smaller Details
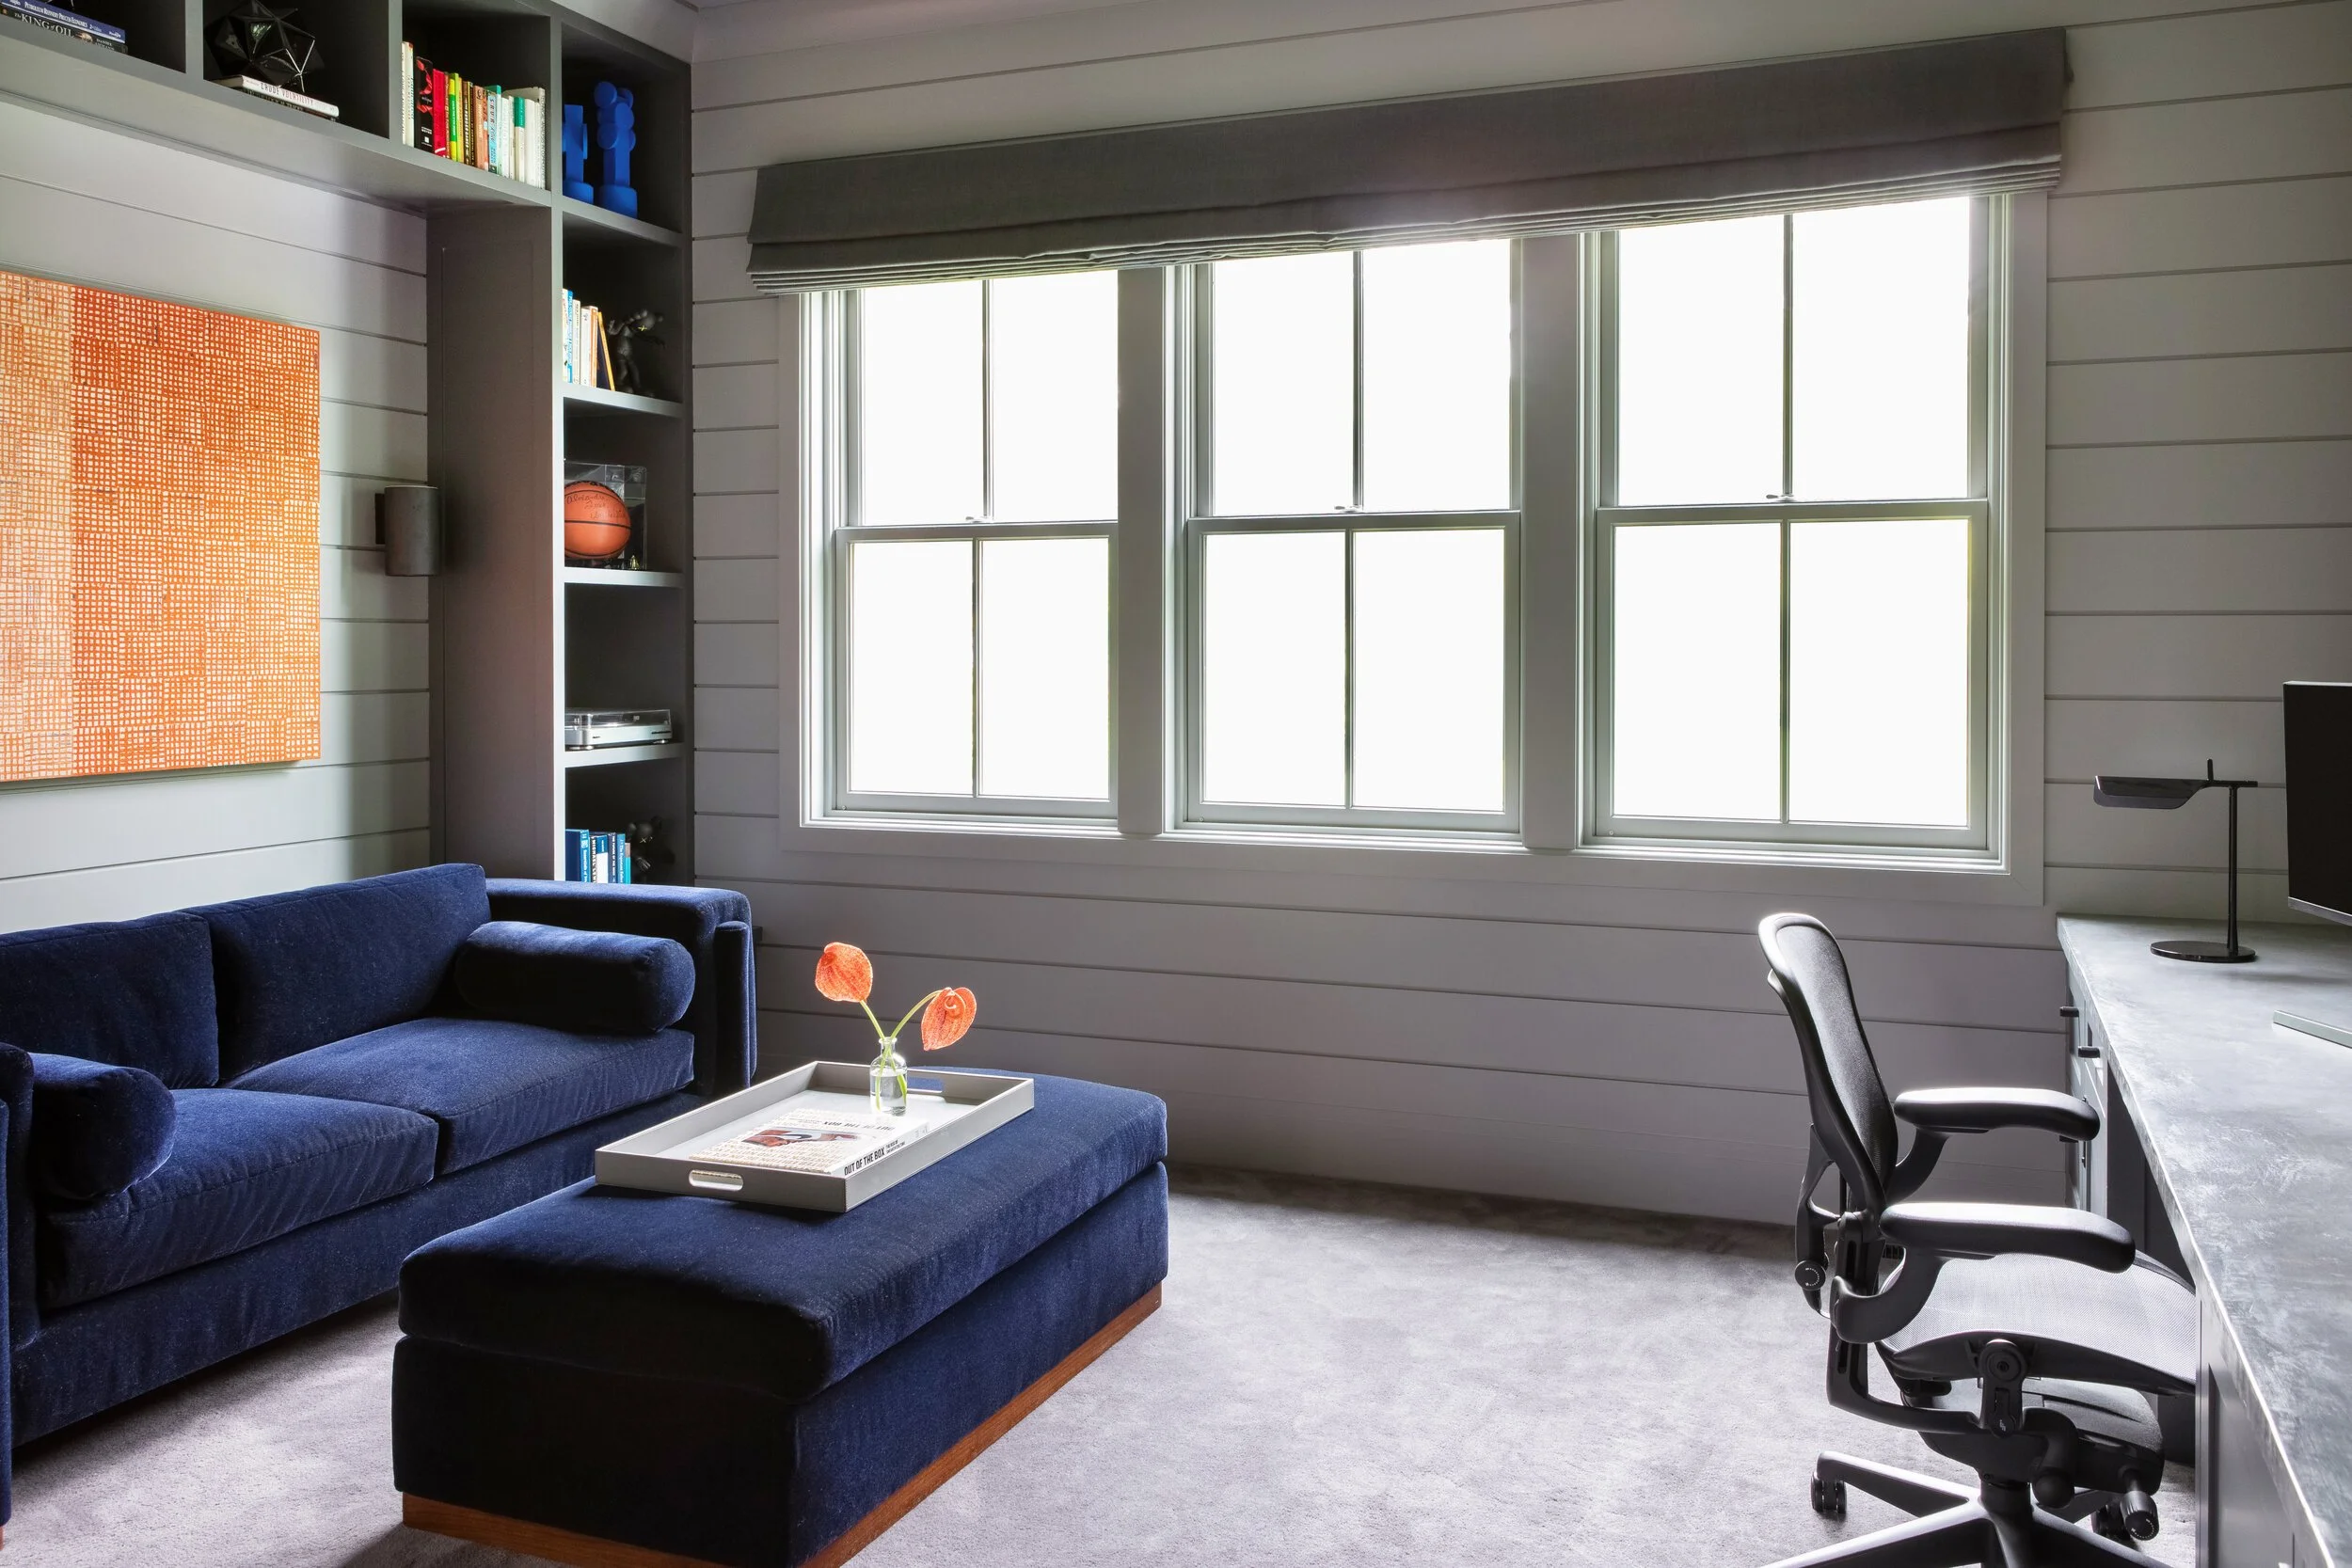
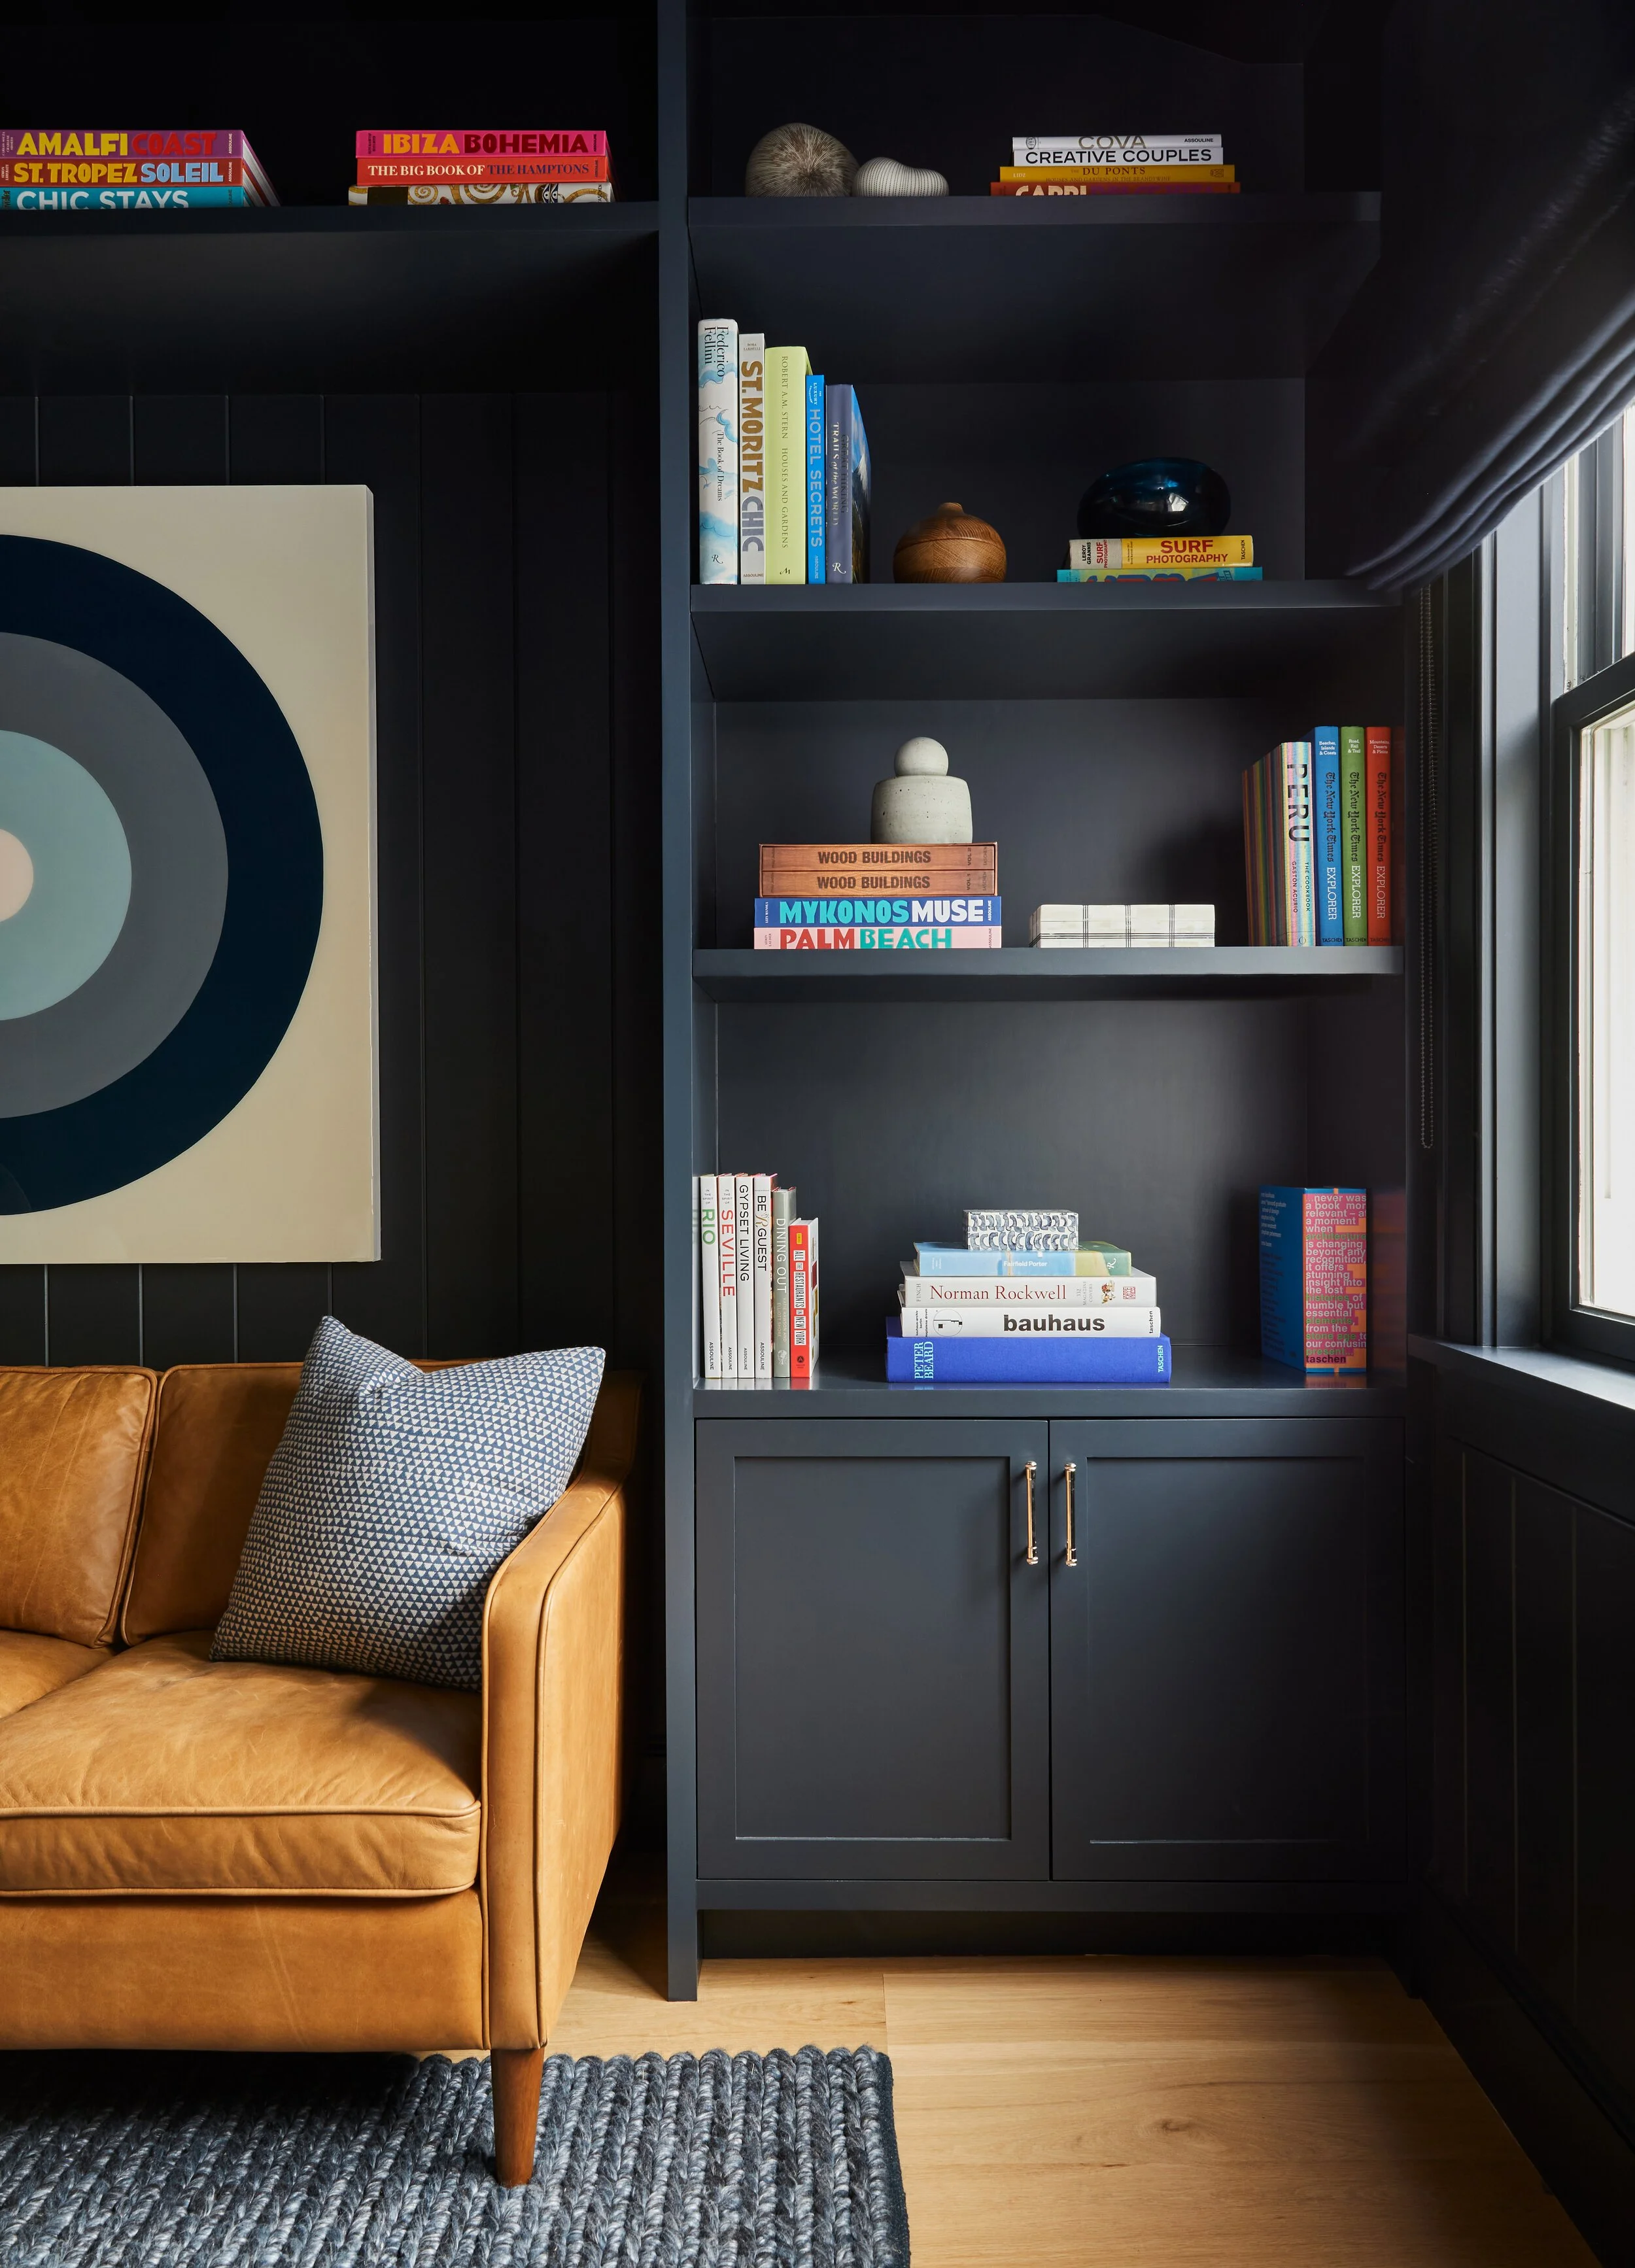
Here’s where it gets fun (and a bit tricky)! Start creating little vignettes with medium and smaller items. Think about stacking books, adding decorative boxes, or pairing similar elements. This step is perfect for injecting personality into your space with family photos or vintage accessories.
Remember, the goal is not just to fill space but to curate a visually appealing and personal story on your shelves. Happy styling, and feel free to share your own built-in transformations!


